Fantasy Watercolour Tutorial by artist Kiara Maharaj.
In this tutorial we’re going to paint a fallen forest log with striking light across it. The purpose of this tutorial is to play around with the unique techniques and characteristics of watercolour – wet-in-wet, dry brushing, lifting, glazing, and the medium’s transparency. This tutorial is ideal for complete beginners who love to paint nature and forest scenes with a whimsical touch.
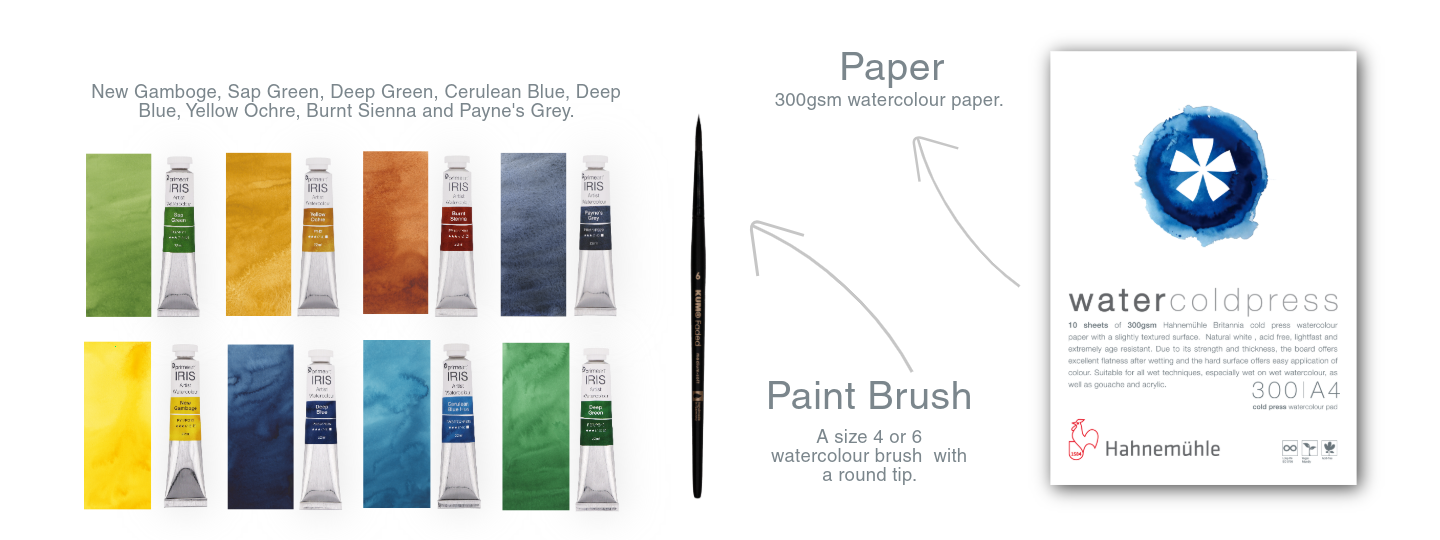
STEP 1: GATHER YOUR MATERIALS
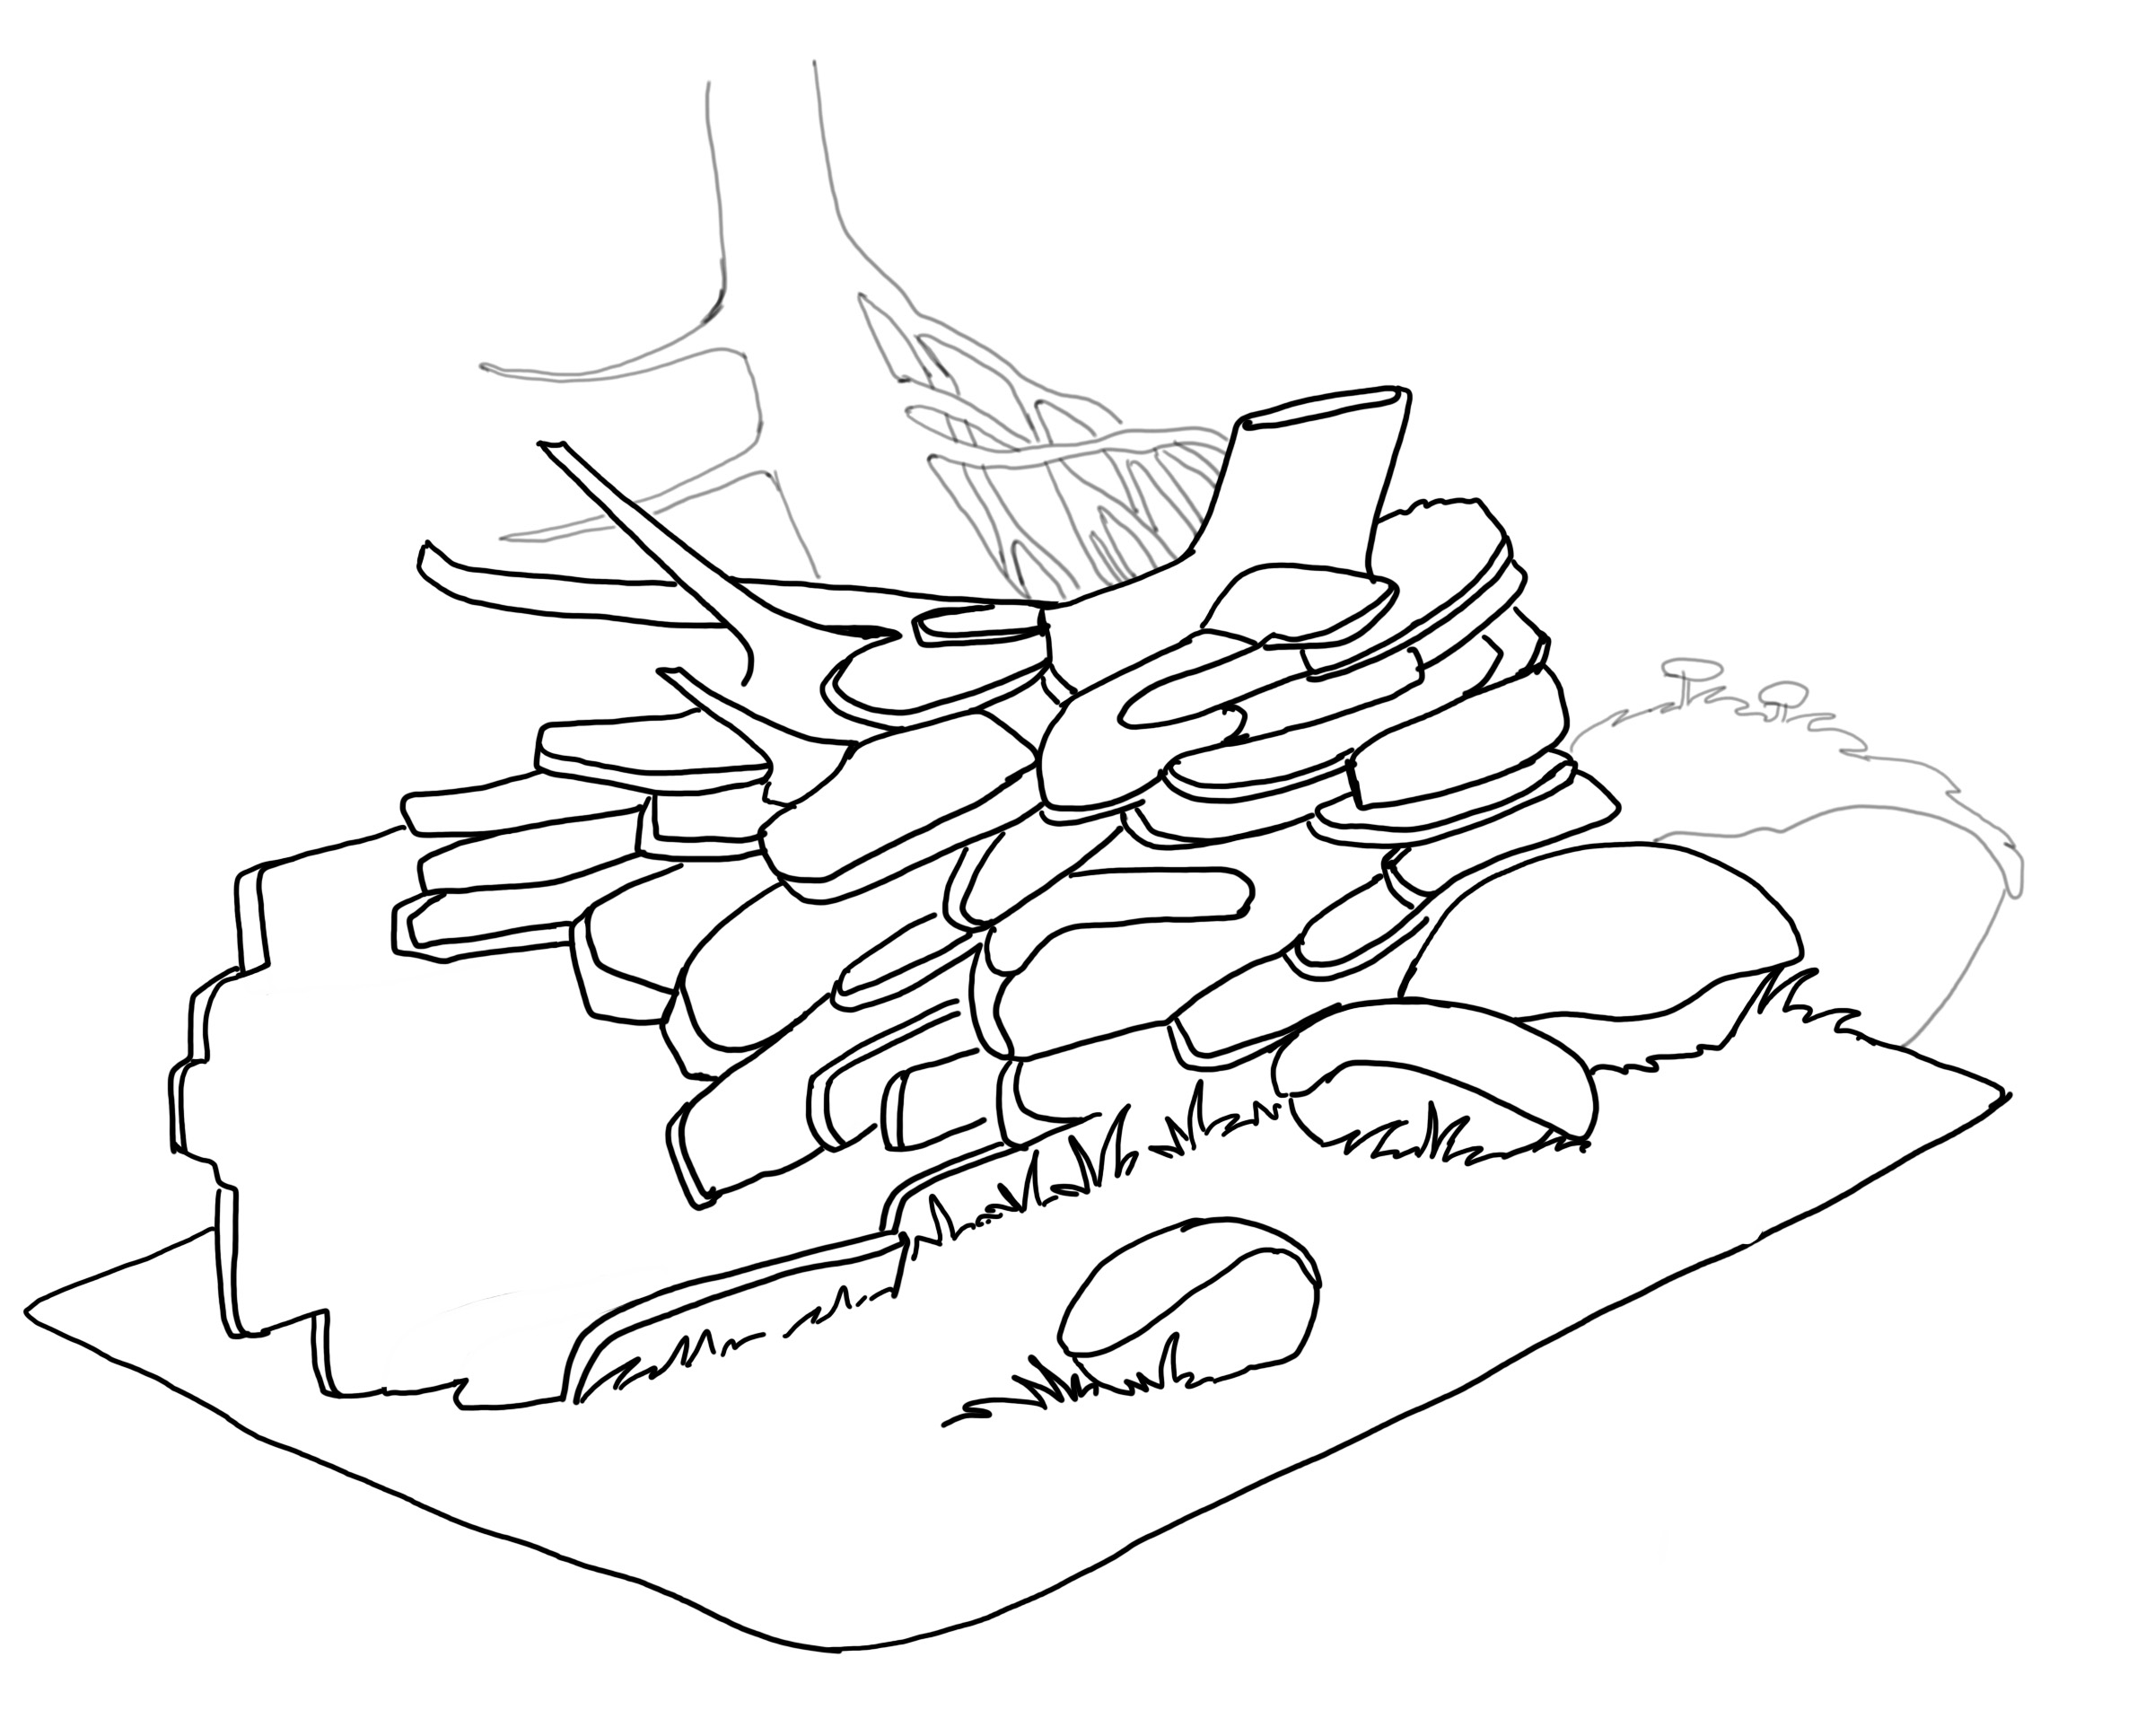
STEP 3: PAINTING THE BACKGROUND
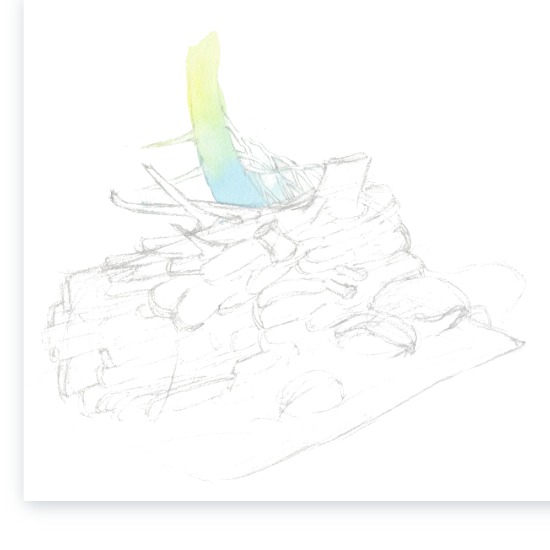
In this step we’re going to paint the background elements using a lot of water and very little pigment (paint). First raise your sketchbook or paper at a slight angle, so that the water will flow downwards and create a smooth gradient.
Now dip your paintbrush in water thoroughly, and mix a tiny smudge of New Gamboge on your brush. Apply this watery colour on the page at the top of the tree, and let the color dribble down the page, forming a “bead” of water. Apply the next colour, Cerulean Blue, directly over that “bead” of water to create a smooth transition.
Let the paint dry thoroughly before moving on to the next step.
STEP 4: THE LOG AND THE LIGHT
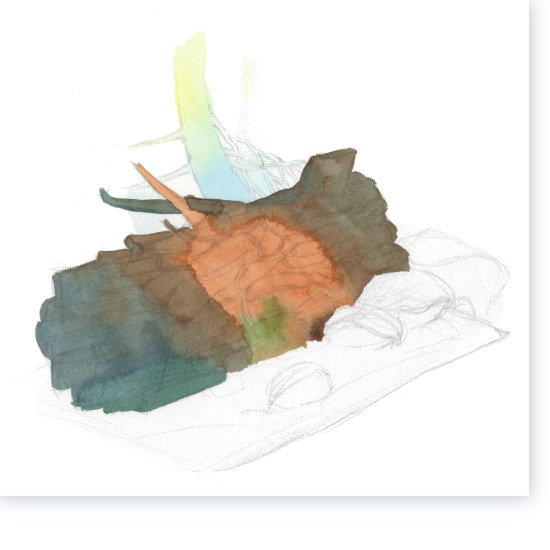
In this step we’re going to work quite quickly to take advantage of the paint while its still wet. Start with Burnt Sienna and apply it loosely on the middle of the log where the main area of light will go. Now working quickly with the wet Burnt Sienna, quickly mix the Burnt Sienna on your palette with a touch of Deep Blue to create a darker shade of brown, and apply that to the log on either side of the middle light spot. Then add more Deep Blue to the mixture so that the colour looks more blue than brown, and dab that in the log on the furthermost left side.
While all that paint is still wet, clean your brush, then dab spots of Sap Green in the wet Burnt Sienna or wherever you imagine there to be moss. Let the colours of the light and shadow seep together and mix. Watch the watercolour do its thing.
Let the paint dry thoroughly.
STEP 5: PAINTING THE GROUND
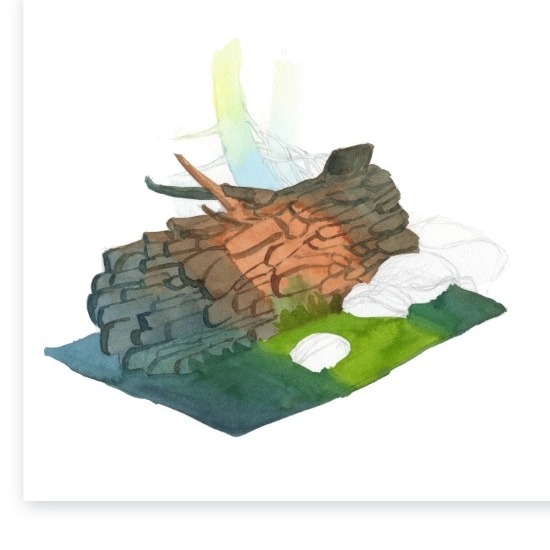
Now we can move on to the ground! First mix Sap Green and a little bit of New Gamboge and apply this colour to the middle of the ground area, in line with the light parts of the log.
Quickly, while the green is still wet, mix Deep Green and a little bit of Deep Blue into that Sap Green and apply it on either side of the light spots, similar to how you painted the log. Clean your brush and add Deep Blue to the farthest left-hand side of the ground, where it looks the bluest.
While the paint on the ground is still drying, clean your brush and mix a new colour: dark brown with Burnt Sienna + Deep Blue. Use this colour to now outline or draw the individual pieces of the wood on the log.
STEP 6: PAINTING THE ROCKS
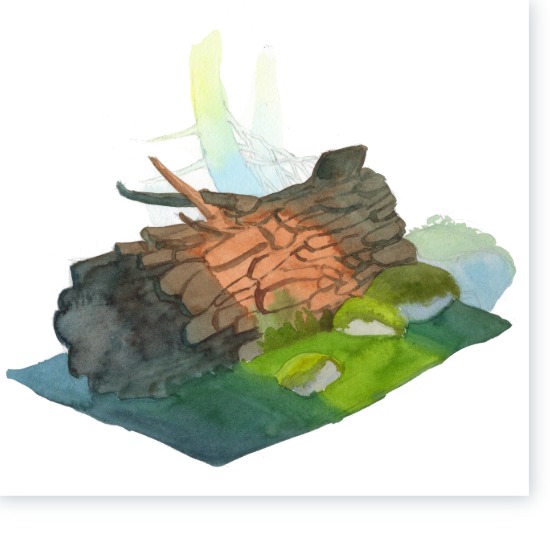
Now let’s paint the rocks. Use Sap Green + a bit of New Gamboge and paint the mossy top of the rocks. While the paint is still wet, add a smidgen of Payne’s Grey to the mixture to get a dark green and dab this colour at the bottom of the moss cover. Also use this colour for the rock in the shadow but still on the ground. Now clean your brush and mix Yellow Ochre + a touch of Payne’s Grey to paint the body of the rock itself below the moss. Only use this color for the rocks in the light. For the rock in the shadow use Payne’s Grey + a little bit of Deep Blue.
While the paint on the rocks is drying, let’s paint the lonesome rock that seems to disappear in the background. Use a lot of water on the brush, and mix even more water into some Deep Green paint and paint the mossy top of the rock. Then transition this colour with water into Deep Blue and then Cerulean Blue for the rock itself (similar to the tree in the background).
Lastly for this step, mix Payne’s Grey + a bit of Burnt Sienna for a very deep, dark brown, using a small amount of water. Use this colour for the inside of the log. Let the paint create interesting textures.
STEP 7: PAINTING THE LOG TEXTURES
In this step, mix dark brown using Burnt Sienna + Payne’s Grey to carefully draw some lines on the wood for texture, as well as the individual pieces. Draw in thicker lines on the upper parts where a shadow would be cast.
Glaze another layer of Payne’s Grey + Burnt Sienna to darken the colour inside the log even more.
We’re almost done with this piece of the forest! The only thing left to do is…
STEP 8: PAINTING THE DETAILS
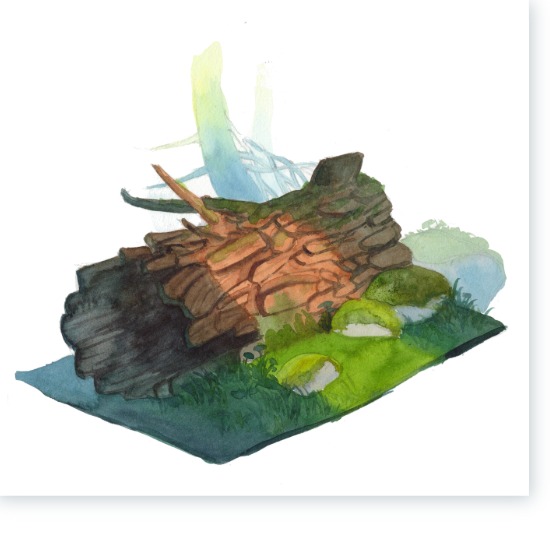
Now use a fairly dry brush (very little water) and draw some grass and leaf shapes on the shadow parts of the ground using Deep Green + a little bit of Payne’s Grey. You can go crazy with the details if you enjoy it – add mushrooms, add large leaves, add more sticks on the ground. Whatever you like! Also use this colour to darken the edges of the floor, creating a little bit more dimension to the piece.
While that’s drying, use Sap Green + a bit of water, and then glaze this colour over the log to paint textures of moss.
And that’s the finished log! Of course, you can still go ahead and try painting this log at different times of day, or add more details in the background, or on the ground. Maybe mushrooms?
STEP 9: SHARE YOUR ART
We can’t wait to see your interpretation of the fantasy forest! Share your finished artwork on Instagram, tag @primeart and @kiaraintheforest, and you’ll be entered into a draw to win a watercolour hamper that includes Kiara’s book Watercolor Wizardry and the full range of IRIS Watercolour Greens (10 x 22ml watercolours).
This competition closes on the 4th of August 2026, and the winner will be announced on the 5th of August 2026. This competition is only open to South Africa.

A MESSAGE FROM KIARA
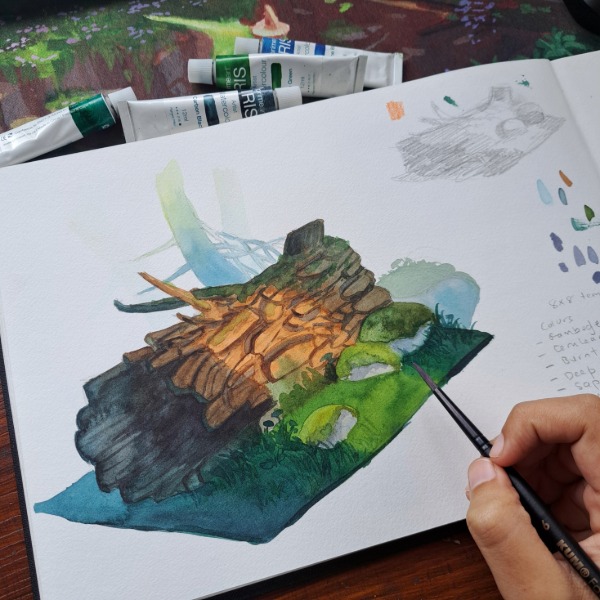
I hope this guide brought you inspiration and motivation to enjoy watercolour. If you’d like to explore more guides like these on topics like watercolour painting and fantasy landscapes, then check out my other books, courses, and video tutorial packs, available on my website and Patreon.
Shop Kiara’s Watercolour Tutorial Book:
Watercolor Wizardry: 25 Step by Step watercolor tutorials to paint your own fantasy forest dimension